
Oh, this blanket is so lovely! Look how the colors and patterns keep your eye moving. Even my little babe was in awe as we snuggled underneath and watched A Roman Holiday (well, at least one of us was watching). I zipped this blanket through the sewing machine in one medium-sized naptime. And knocked my own novice sewer's socks off, if I do say so myself.
I can't claim to be providing a tutorial, as I'm sure some sewing goddess out there knows of a much better way to make one of these, but this is how I made my Good Folks throw blanket.
1. Making the Patchwork Top
As I previously mentioned, I used fat quarters, which are conveniently pre-cut into 18x22-inch rectangles. I played with these on the dining room floor for several days, trying different configurations. Then I cut each of them into 16" squares using a rotary cutter and mat. Next I laid the squares on the floor in a 4x4 layout before pinning the squares together to make four long strips. Using a straight stitch with backstitching at each end, I sewed the squares into strips using a 1/4" seam allowance and pressed the seams open. Finally I spread these strips of four squares out on the dining room again and pinned them together. Again, using a 1/4" seam allowance, I stitched the strips together, resulting in a 4x4 patchwork of squares.
2. Assembling a Blanket Sandwich
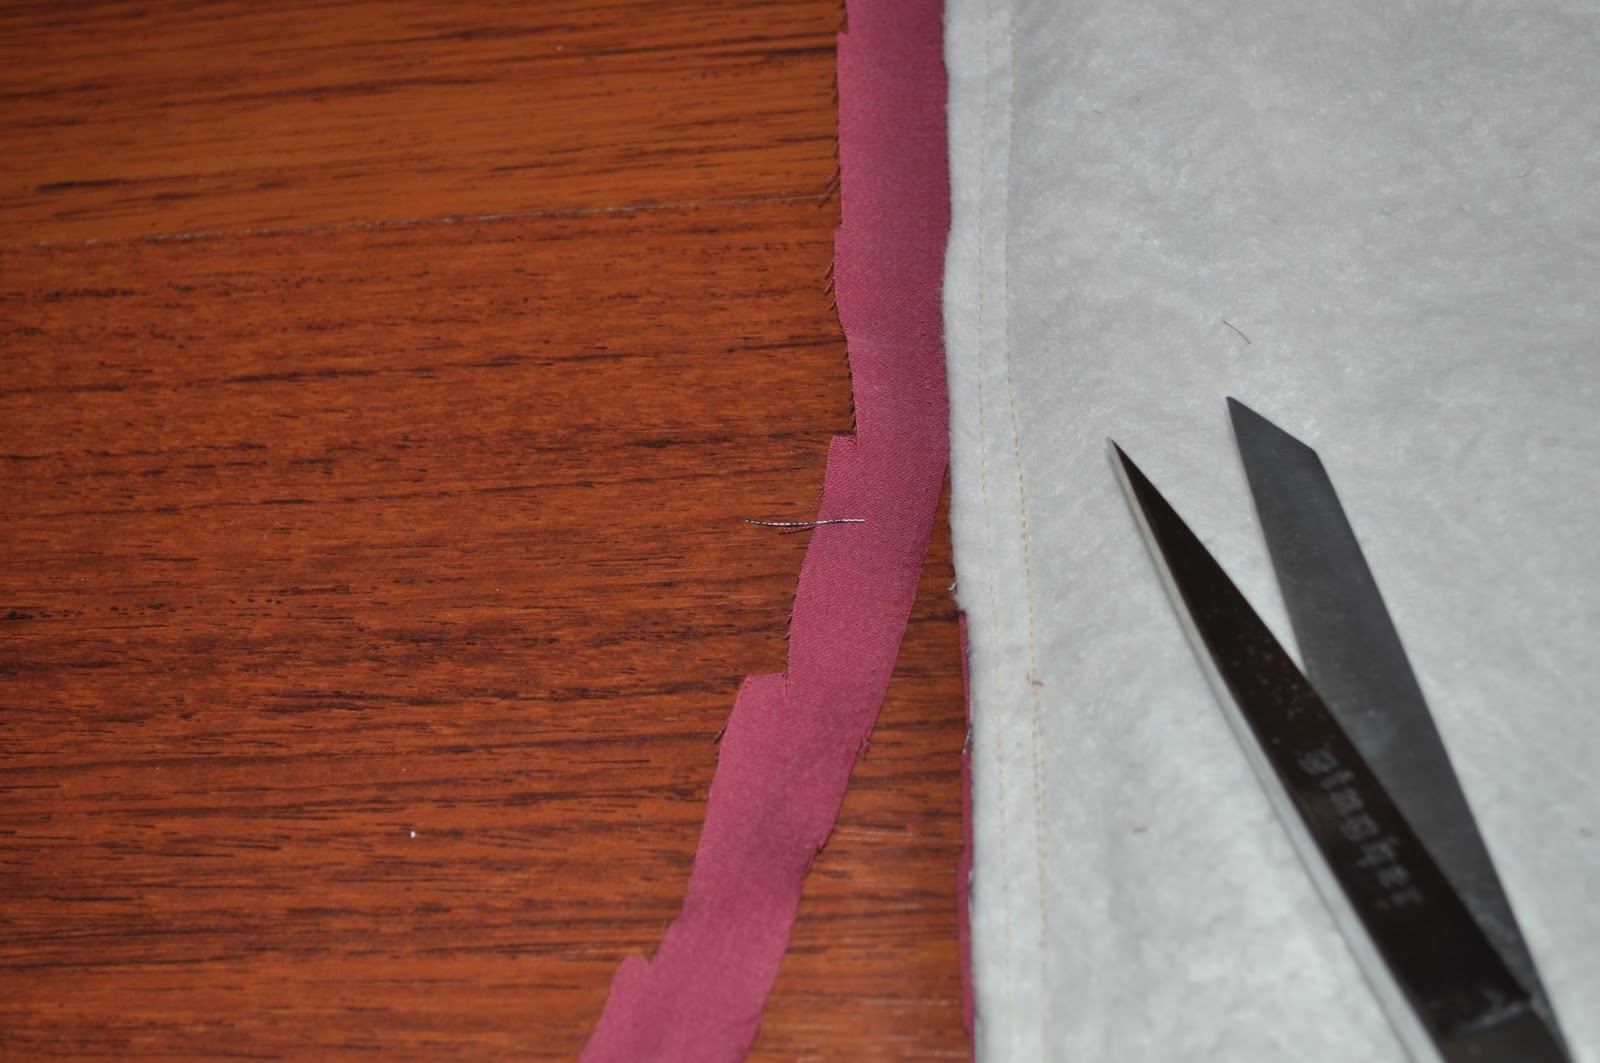
I used a twin-sized package of Warm & Natural batting for the inside of my blanket. Since the dimensions of the batting were much larger than my patchwork top, I needed to make the size more manageable before sewing. Laying the patchwork top on the batting, I roughly trimmed the batting. And when I say roughly, I mean a very quick cut. You can see below that some areas were about an inch longer than the patchwork top. Using a 3/8" seam allowance, I stitched the patchwork top to the batting.

After stitching all four sides, I trimmed the excess batting and clipped the corners.

I used an old, queen-sized, plum-colored bedsheet for the back of my blanket. I spread this out flat (again on my trusty dining room floor!) and then laid my now soft-and-fuzzy patchwork top on the sheet with the patchwork facing downward and the batting facing up. I roughly trimmed the sheet after pinning it all together. Then I used a 1/2" seam allowance and stitched the batting-covered patchwork to the sheet. However, rather than starting in a corner, I began stitching midway down one side so I would end up leaving an opening roughly the length of one square. Make sure to leave that opening open, and I hear one might really regret not backstitching the edges of that opening...

After zipping along and quickly finishing this step, I realized that I had run out of bobbin thread after the second side. Oops!

Well, after getting those four sides stitched together, I trimmed the sheet backing and clipped the corners.
Now for the fun part - when this all starts to look like an actual blanket. Reach inside that open pocket you left, and turn the whole thing inside out so your fuzzy batting is inside and your beautiful patchwork is on the outside.

And you'll end up with something like this. With a strange opening left in one side, of course.


Then, starting at that opening, topstitch the opening shut with a 1/8" seam allowance, and continue the topstitch all the way around the blanket.


Then make yourself some pumpkin muffins to eat under your new blanket while watching a great movie.


1 comment:
Mom, I think the blanket is cozy too!
Post a Comment