Friday, November 12, 2010

In My Kitchen

{It's a busy place, this kitchen of ours.
What's going on in YOUR kitchen this week?}


Thanks, Amanda of SouleMama, for this topic. I have to giggle though, as I am not a professional blogger and my own contribution comes in about two and a half weeks later!

This month, in my kitchen, I have:

:: tried to keep the instant oatmeal jar full (mine is based on this one)


:: burned my Mandarin Woods candle made by Bella from Illume, which I found at Target. (A little Googling showed me that I'm not the first to sing the praises of this wonderful scent; even the print on the packaging box is gorgeous and currently serves as a pencil box on my desk.)

:: helped the girls make baked apples


:: made macaroni and cheese

:: worked on Christmas ornaments with the kids (we ordered this pattern as a kit)


:: made a whole-grain loaf and sandwich bread and pizza dough and focaccia (from here and here and here)


:: watched baby play with spices and dried herbs (before one of the jars broke, of course)


What's happening in your kitchen?

Thursday, October 21, 2010

Library Book Giveaway


In exchange for a meager donation to the school library, my oldest snagged this treasure trove of books last weekend at our school's fall carnival:


  • Hoot
  • Because of Winn Dixie
  • White Fang
  • Caddie Woodlawn
  • Rebecca of Sunnybrook Farm
  • Pilgrim's Progress
  • Life Under the Czars
  • The Golden Book of the Civil War
  • The Hobbit
  • The Mysterious Journey of Edward Tulane


Lots of happy reading to come!

Saturday, October 16, 2010

How I Made This Blanket


Oh, this blanket is so lovely! Look how the colors and patterns keep your eye moving. Even my little babe was in awe as we snuggled underneath and watched A Roman Holiday (well, at least one of us was watching). I zipped this blanket through the sewing machine in one medium-sized naptime. And knocked my own novice sewer's socks off, if I do say so myself.

I can't claim to be providing a tutorial, as I'm sure some sewing goddess out there knows of a much better way to make one of these, but this is how I made my Good Folks throw blanket.

1. Making the Patchwork Top

As I previously mentioned, I used fat quarters, which are conveniently pre-cut into 18x22-inch rectangles. I played with these on the dining room floor for several days, trying different configurations. Then I cut each of them into 16" squares using a rotary cutter and mat. Next I laid the squares on the floor in a 4x4 layout before pinning the squares together to make four long strips. Using a straight stitch with backstitching at each end, I sewed the squares into strips using a 1/4" seam allowance and pressed the seams open. Finally I spread these strips of four squares out on the dining room again and pinned them together. Again, using a 1/4" seam allowance, I stitched the strips together, resulting in a 4x4 patchwork of squares.

2. Assembling a Blanket Sandwich

I used a twin-sized package of Warm & Natural batting for the inside of my blanket. Since the dimensions of the batting were much larger than my patchwork top, I needed to make the size more manageable before sewing. Laying the patchwork top on the batting, I roughly trimmed the batting. And when I say roughly, I mean a very quick cut. You can see below that some areas were about an inch longer than the patchwork top. Using a 3/8" seam allowance, I stitched the patchwork top to the batting.


After stitching all four sides, I trimmed the excess batting and clipped the corners.


I used an old, queen-sized, plum-colored bedsheet for the back of my blanket. I spread this out flat (again on my trusty dining room floor!) and then laid my now soft-and-fuzzy patchwork top on the sheet with the patchwork facing downward and the batting facing up. I roughly trimmed the sheet after pinning it all together. Then I used a 1/2" seam allowance and stitched the batting-covered patchwork to the sheet. However, rather than starting in a corner, I began stitching midway down one side so I would end up leaving an opening roughly the length of one square. Make sure to leave that opening open, and I hear one might really regret not backstitching the edges of that opening...


After zipping along and quickly finishing this step, I realized that I had run out of bobbin thread after the second side. Oops!


Well, after getting those four sides stitched together, I trimmed the sheet backing and clipped the corners.

Now for the fun part - when this all starts to look like an actual blanket. Reach inside that open pocket you left, and turn the whole thing inside out so your fuzzy batting is inside and your beautiful patchwork is on the outside.

And you'll end up with something like this. With a strange opening left in one side, of course.


Using the best of your fine motor skills, fold the edges of that opening inside and pin them together.


Then, starting at that opening, topstitch the opening shut with a 1/8" seam allowance, and continue the topstitch all the way around the blanket.


Then make yourself some pumpkin muffins to eat under your new blanket while watching a great movie.


Tuesday, October 12, 2010

Fall is for Projects... and Granola

Summer was blissful.

But, like any other mom who needs to nurture her urges to plan, by late summer I was creating my list of "things I'll do when..." One of those being "when the kids are back in school."

I've been playing with color. So fun to see how swapping out one color block changes the dynamic.


I'm shamelessly ripping off an idea from Amanda and Mary Beth in making a Good Folks throw blanket. I ordered fat quarter bundles of this vivid set of fabrics directly from the designer, Anna Maria Horner. Would you ever put these colors and patterns together? I sure wouldn't. I have a long, long history as a color-phobe. I'm sure I'm not alone in that dirty little secret...

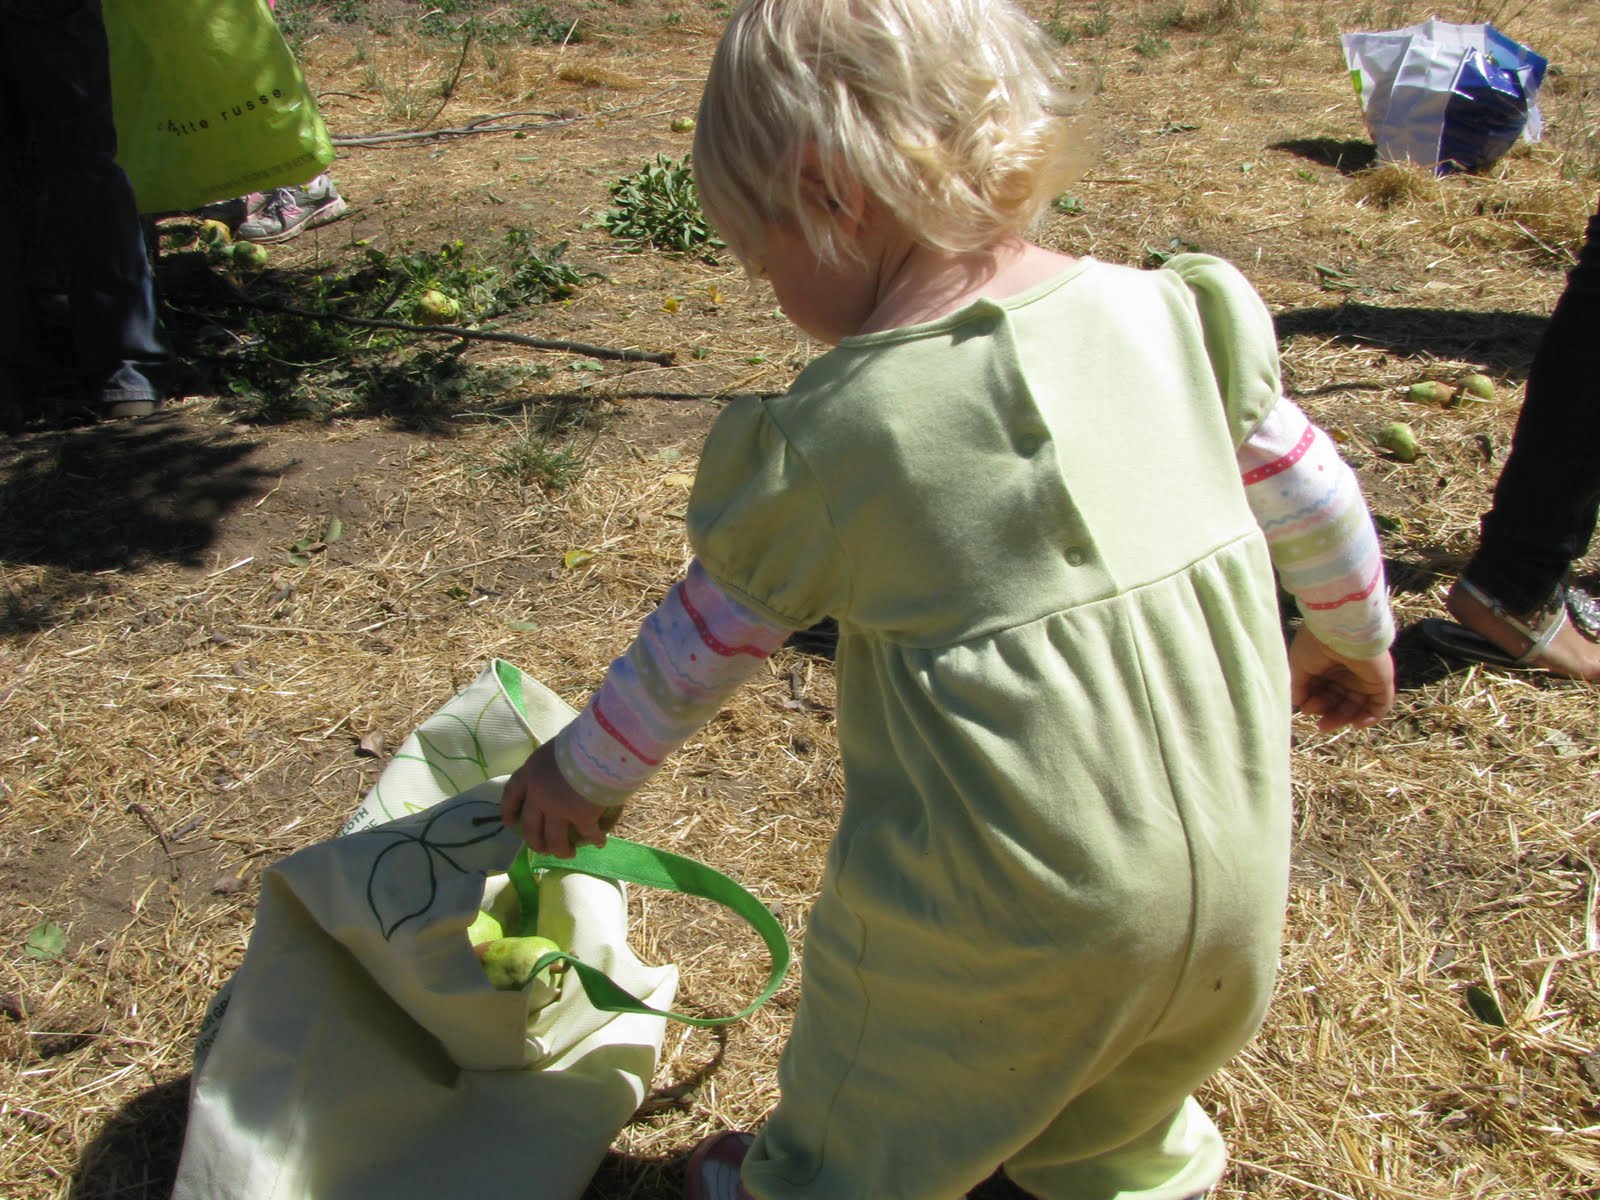
I recruited a little helper for the pinning. Seemed like a better use of our time than spending another hour trying to get her to nap.


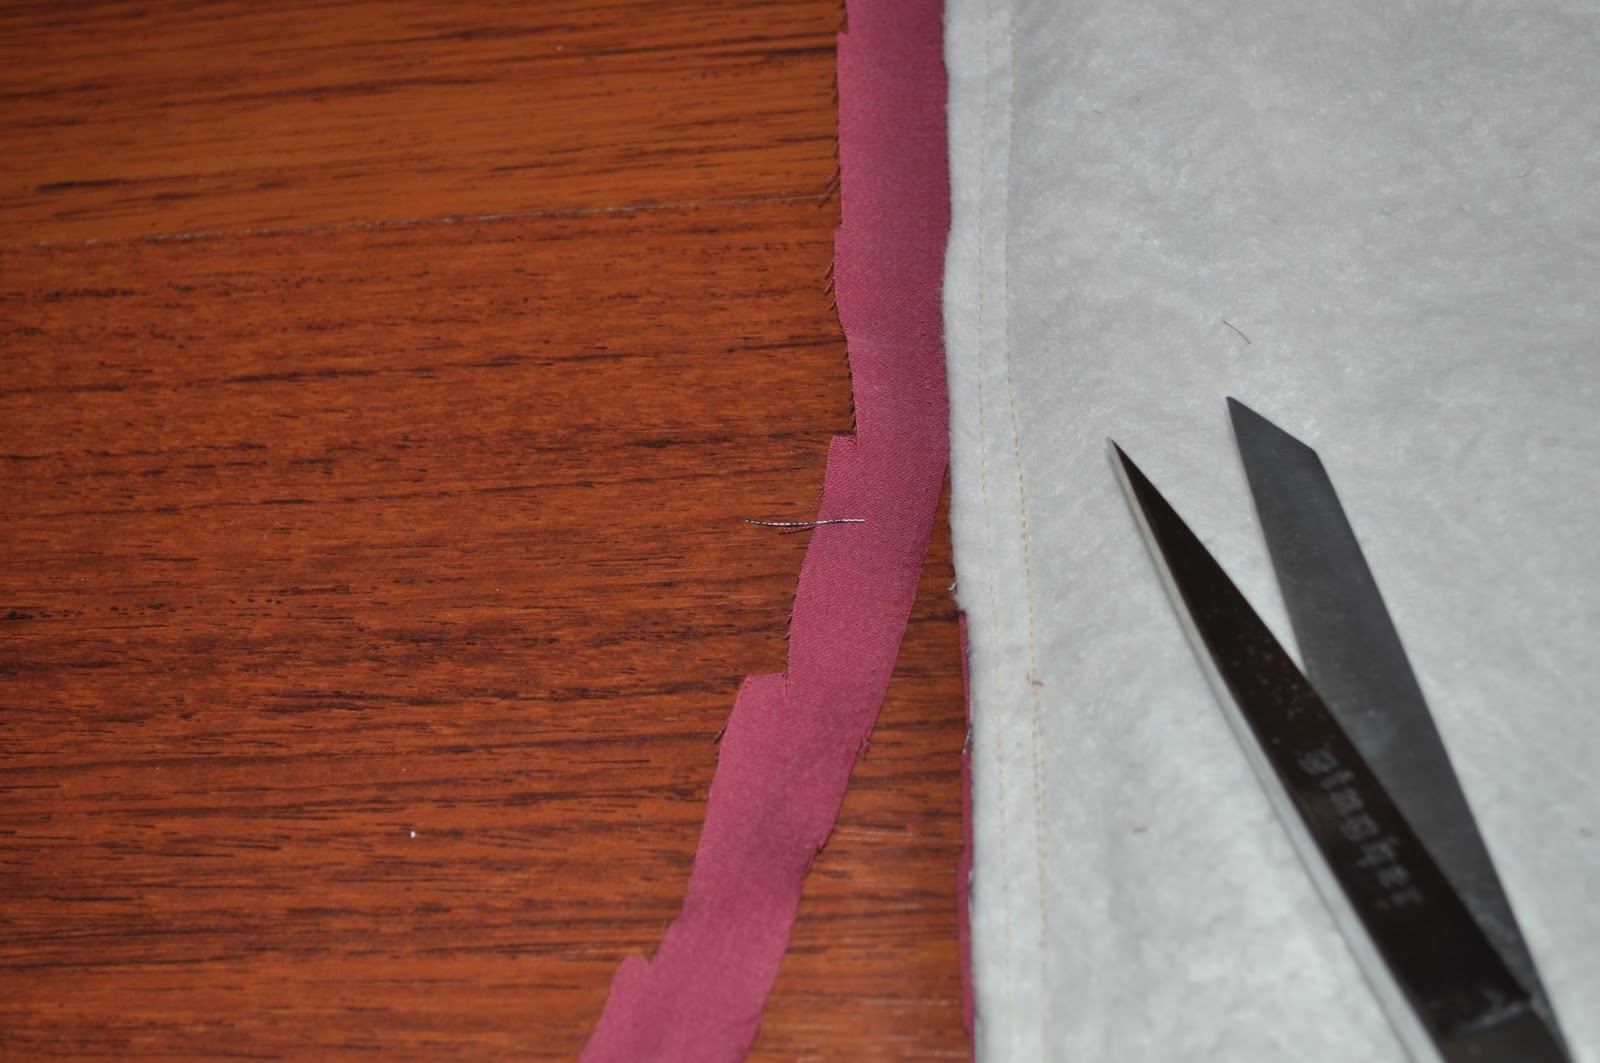
If you peeked at either of those above links to stories about finished blankets, you may have noticed there was no how-to, no tutorial detailing the assembly of this blanket. Being a newbie sewer, this was slightly intimidating, but I have to admit that stitching squares together has to be among the easiest of projects.

I cut my fat quarters into 16" squares in my typical way, a slice here, a slice there, run to move the laundry, another cut, fetch the baby after naptime, one more cut, and it's time to pick up the kids at school! Such a relaxing hobby.


I'm waiting for my batting to be delivered, and then I'll figure out how to finish this off, likely using an old bedsheet for the back fabric.

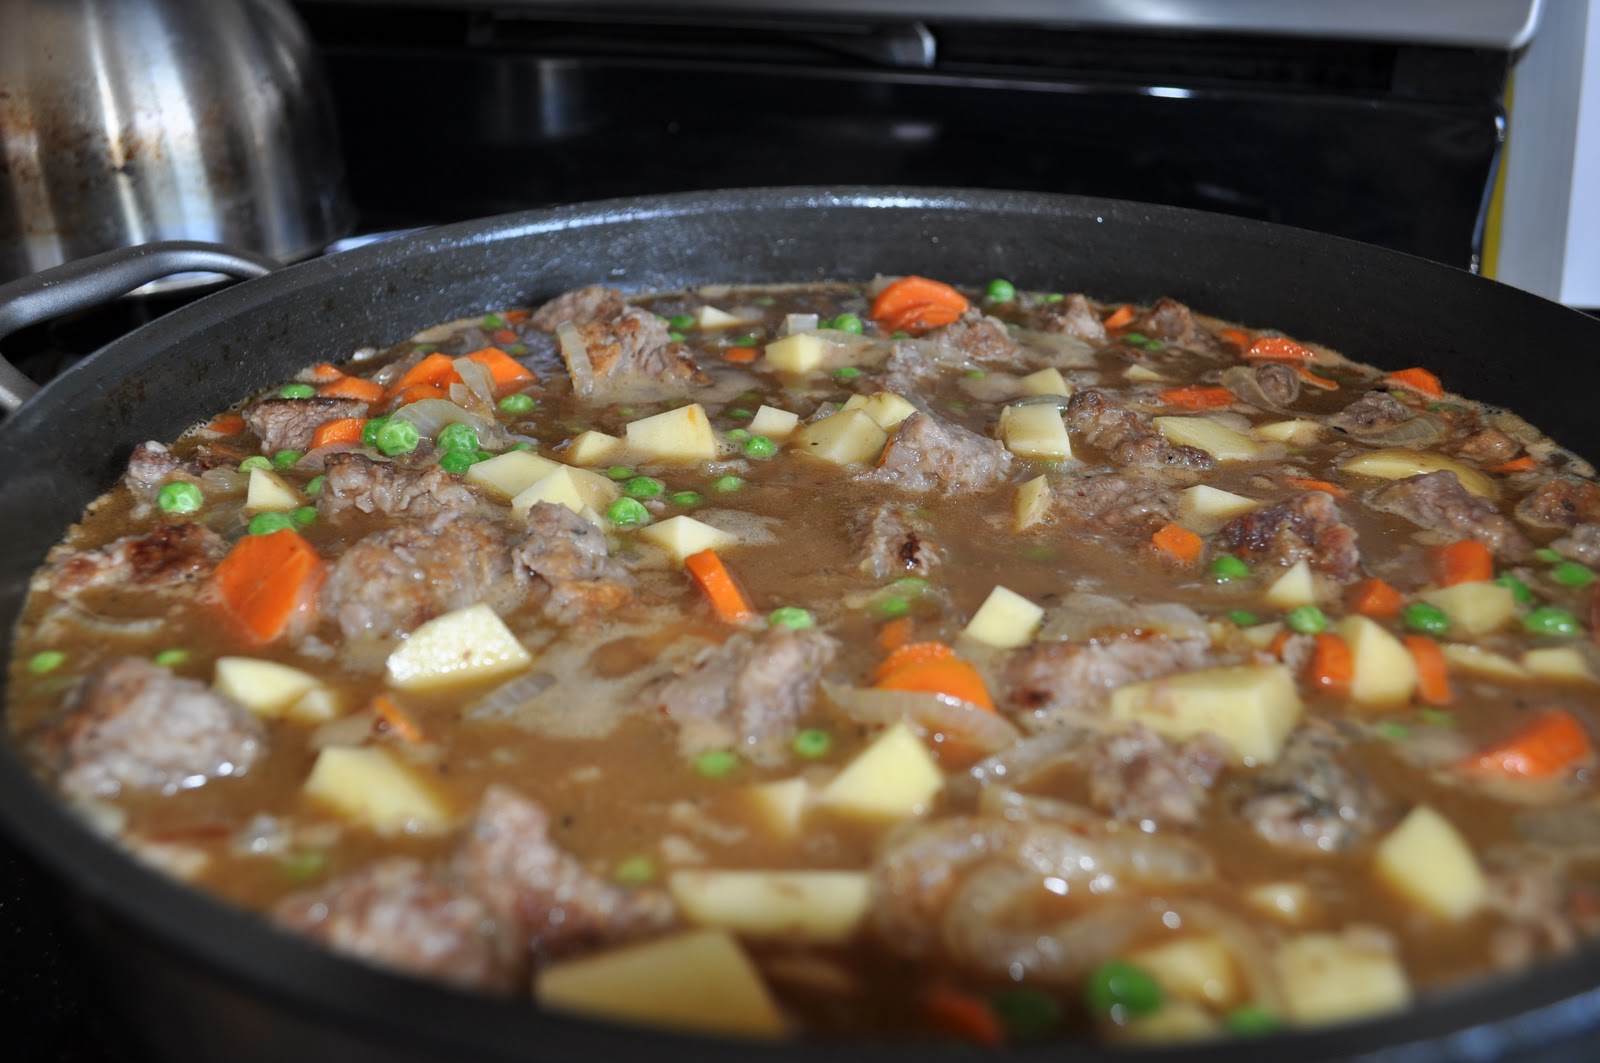
I've also been doing a bunch of batch cooking: make two, freeze one. Spinach and leek lasagna, macaroni and cheese, chicken enchiladas, and stove-top pot roast.


Another big project was settling into a new desk corner. My temporary sofa table solution was really backfiring when the toddler figured out how to climb on the sofa herself and yank all the cords out of the monitor. So I followed the cues and moved my electronics to a safe(r) zone. Moving the family control tower was not a quick project (and, by the way, have I erroneously given the impression that any of my projects are quick?). See, I do have a sanded and primed craigslist find out on the driveway (thank you, sweet hubby). Which means I might be making a second move sometime in the future. Or maybe not. Anyhow, it does interfere with blog updates...


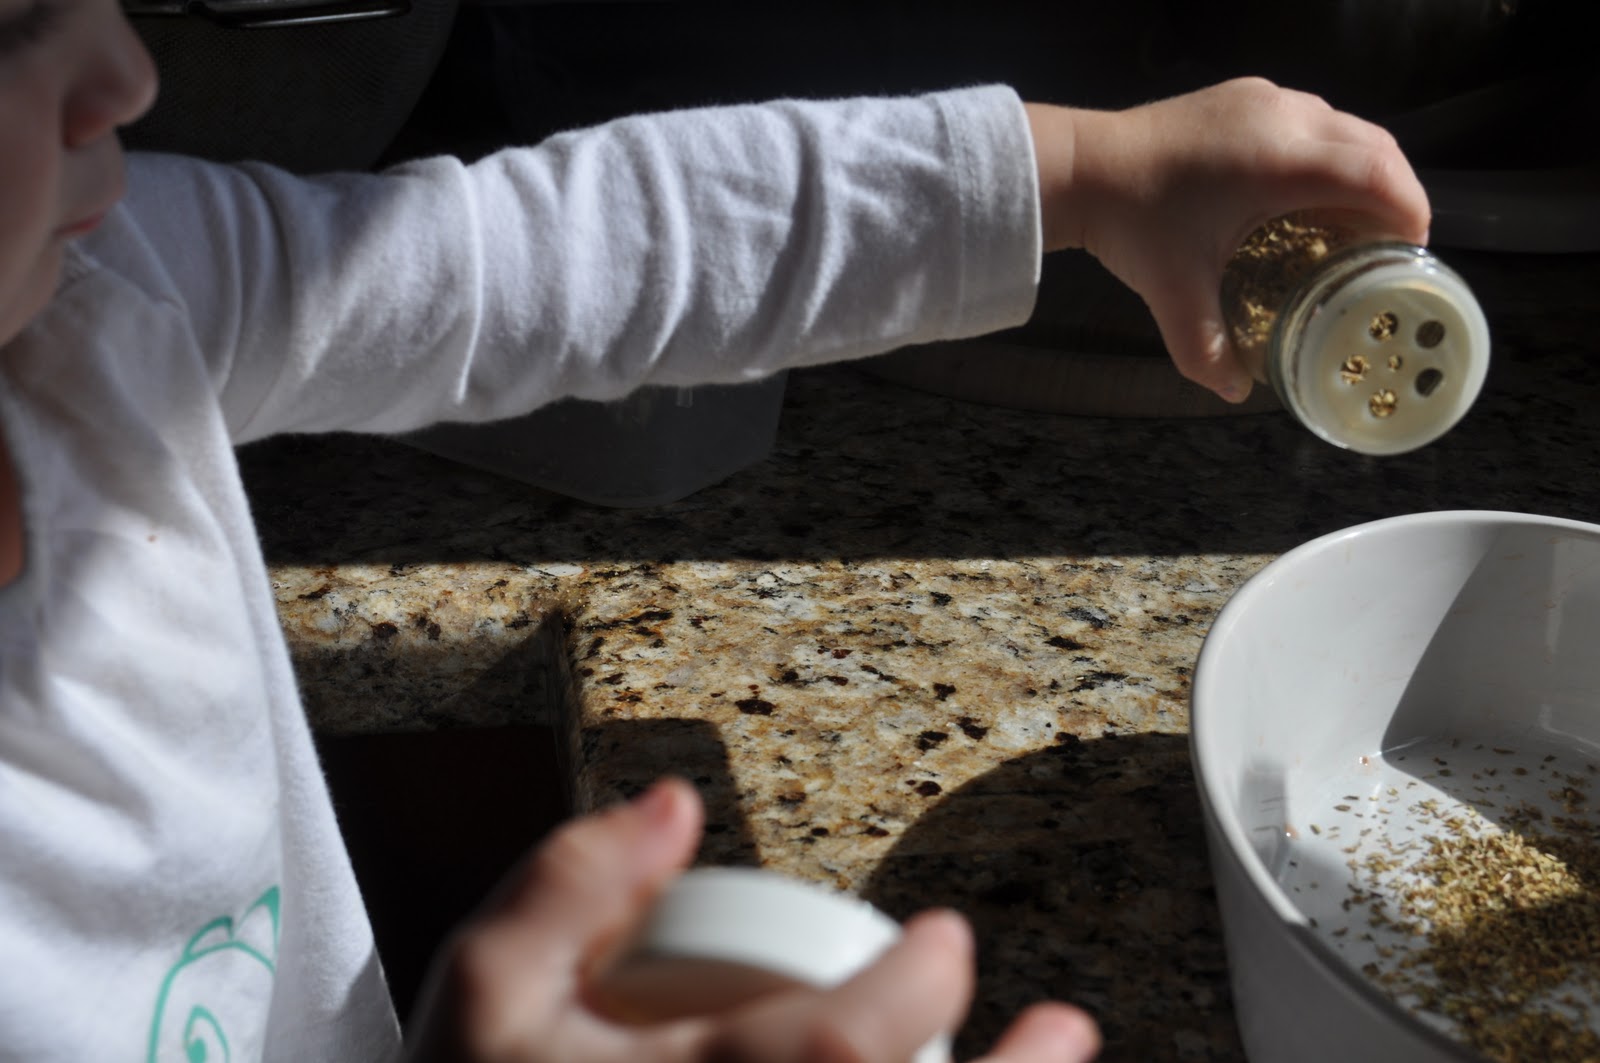
And I am still just ruthlessly obsessed with making granola. I'll share my latest recipe, a slight variation on my last, which is so cleverly titled "New Granola." I guess the next version will have to be "Even Newer Granola." Enjoy.


New Granola
Fills 3-5 quart jars.

Liquid Ingredients:
3/4 cup oil (I usually use canola but 1/2 cup coconut + 1/4 cup canola is delicious)
1/2 cup honey (I prefer clover or orange blossom)
1/2 cup maple syrup (I prefer Grade B)

Dry Ingredients:
9 cups rolled oats
1 1/2 cups whole wheat flour (or 1 cup whole wheat flour + 1/2 cup flaxmeal)
1 tbsp cinnamon
1/2 tsp nutmeg
1 cup flaked coconut (I prefer unsweetened but it's hard to find)
1 cup chopped pecans
1 cup chopped walnuts
1 cup sliced almonds

Preheat oven to 325F. Combine the liquid ingredients in a large bowl and mix well. Add the dry ingredients to the liquids and stir to evenly distribute. Spread the mixture over two half sheet pans lightly covered with nonstick spray. (For a crispier granola, use three half sheet pans.) Bake for 20 min; for best results bake one sheet at a time. Store in the pantry in a well-sealed container.

Friday, September 24, 2010

Menu Planning


I think it was a while ago when I mentioned the benefits of menu planning: better spending habits, less stress after school, minimal time spent shopping for food, and reduced grocery bills. What a win-win, right? Recently, more often than not, I just couldn't find the hour or so I need to do this well each week. For the past three months my grocery lists were scribbled on the backs of envelopes, and - usually - I could find them, and - usually - I did remember what I intended to make with certain ingredients, and - usually - I did pull that off before certain produce items spoiled. Well, that's a lot of usuallys. Hmm. Seemed like it was time to get back in the saddle, so they say.

Slowly I'm getting back in the groove. This book was inspiring: Family Feasts for $75 a Week: A Penny-wise Mom Shares Her Recipe for Cutting Hundreds from Your Monthly Food Bill

I've used so many of Mary Ostyn's ideas to get more organized and really tighten my grocery spending. I'm not quite down to only $75 a week, but I am pretty proud that with a price book, occasional coupons, and the envelope system I have reduced our family food spending by 50%!

Here are a few freebie tools I've liked using:

  • This beautiful menu planner from Ollibird gives you space for a week's worth of dinners. I love her idea for creating a reusable version by fitting a photo print of the planner in a frame and writing on the glass with a dry erase marker.
  • I also like using Delicious to organize recipes that I've found online.
Do you have any tips for staying organized in the kitchen?

Thursday, September 23, 2010

A Day at the Farm

We had a magical weekend visit at a family friends' local ranch. Maybe the magical part was leaving the suburbs for this kind of backyard.


There were magical trees


bursting with pears and apples.


This was a pear picking party,


and everyone helped.


There were barns to explore, full of equipment and noisy roosters


and a coop full of hens


and a gentle horse to feed


and love


and ride


and ride


and keep riding.


There were even fun things to ride


for those less equine-inclined.


Thanks Grandma!